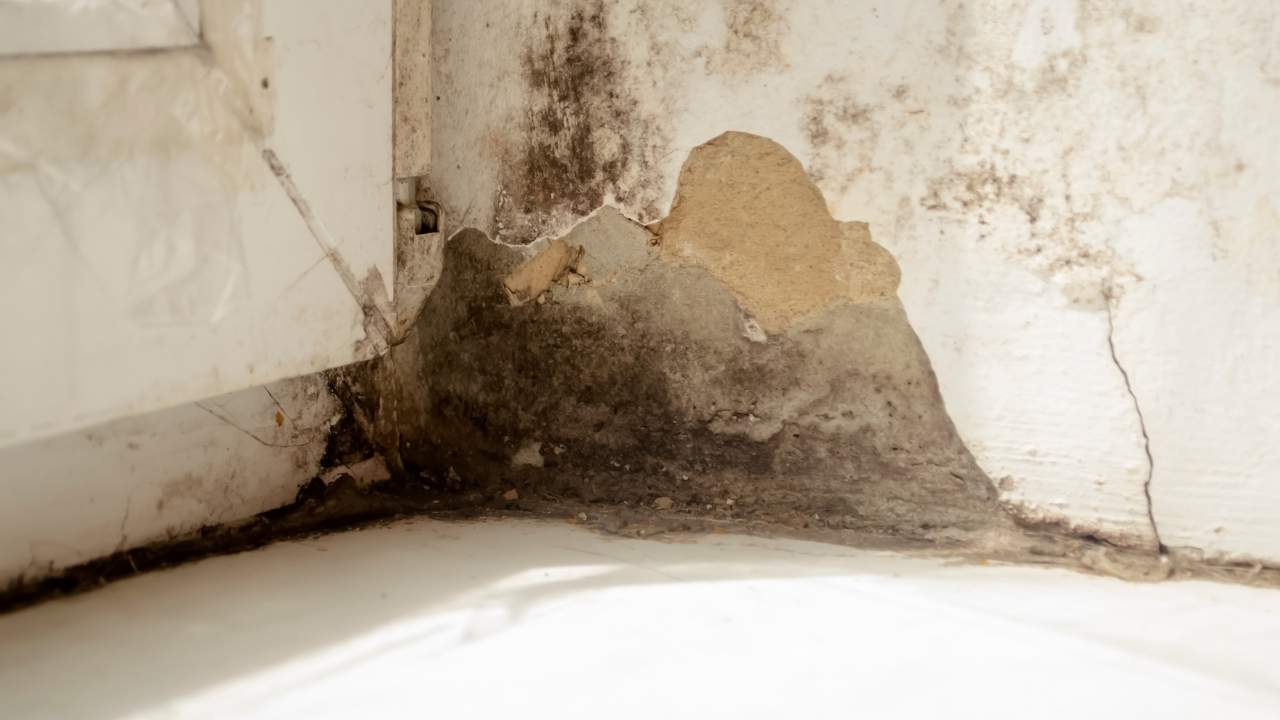
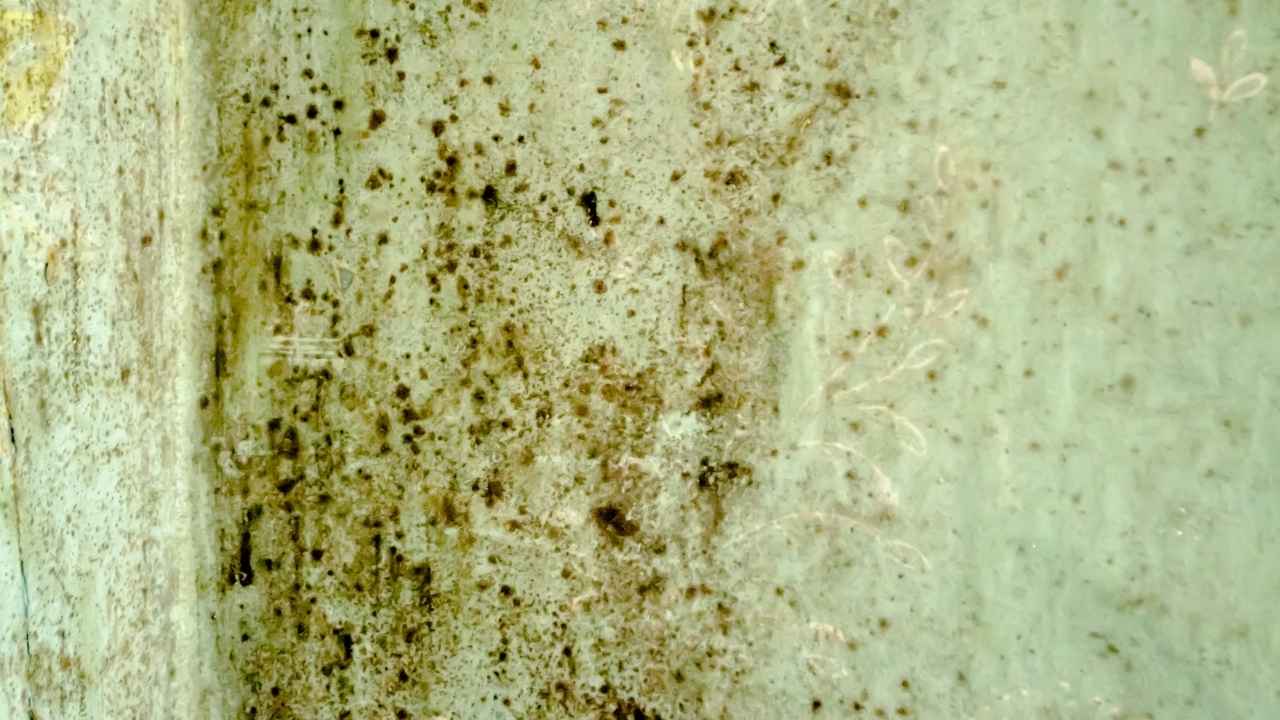
Black mould is one of the most common problems in homes, especially in damp and poorly ventilated areas like bathrooms, kitchens, and window frames. Not only does it look ugly, but black mould on silicone sealant can also be a serious health risk.
Mould releases spores that can trigger asthma, allergies, and other respiratory issues. If left untreated, it can even damage your fixtures and spread to your walls and floors.
In this guide, we’ll show you how to remove black mould from silicone sealant, how to prevent it from coming back, and when it might be time to call in the experts.
What Causes Black Mould on Silicone Sealant?
Black mould loves damp, humid spaces with poor ventilation, which is why it often grows around silicone sealants in bathrooms, kitchens, and windows.
Condensation that isn’t wiped away or inadequate airflow can give mould the perfect environment to grow. If you’ve noticed those pesky black patches, it’s time to take action!
How to Remove Black Mould from Silicone Sealant?
Removing black mould can be quick and simple if you follow the right steps.
Whether you prefer natural remedies or chemical treatments, always wear gloves, a mask, and goggles to protect yourself from mould spores.

1. Natural Remedies for Mould Removal
White Vinegar Spray
- Mix two parts white vinegar with one part water in a spray bottle.
- Spray generously onto the mouldy silicone sealant.
- Let it sit for at least 30 minutes (or overnight for tougher patches).
- Gently scrub with an old toothbrush or cloth, then wipe clean and dry.
White Vinegar & Bicarbonate of Soda Paste
- Mix vinegar and bicarbonate of soda into a thick paste.
- Apply the paste to the mouldy areas and leave it overnight.
- Scrub the next day in circular motions, then wipe clean and dry.
2. Chemical Solutions for Mould Removal
Bleach Solution
- Mix one part bleach with four parts water.
- Spray it on the mouldy sealant and let it sit for a while.
- For stubborn mould, soak a cloth in bleach and press it onto the affected area overnight.
- Wipe away any residue with a damp cloth and dry thoroughly.
Commercial Mould Removers
- You can also use ready-made mould sprays for a more straightforward solution.
- Just follow the instructions carefully, and be sure to wear protective gear and work in a well-ventilated area.
When to Replace Silicone Sealant?
Sometimes, mould can get too deep into the silicone sealant, and cleaning just isn’t enough. If that’s the case, replacing the sealant is your best option. Here’s how to do it:
Step 1: Remove the old sealant using a scraper or a sharp knife.
Step 2: Clean the area with a mould cleaner and let it dry completely.
Step 3: Apply new silicone sealant using a caulking gun.
Step 4: Smooth it with a wet finger or smoothing tool.
Step 5: Let it cure (check product instructions for exact curing times) and keep it dry.
How to Prevent Black Mould from Growing on Silicone Sealant?
The best way to deal with black mould is to prevent it from growing in the first place. Here are some simple tips to help keep your silicone sealant clean and free from mould:
1. Improve Ventilation
Proper airflow is essential to reduce moisture build-up. Here’s what you can do:
- Open a window after using the shower or bath to let steam escape.
- Install an extractor fan with a humidity sensor or timer to reduce damp air automatically.
- If you don’t have a window in your bathroom, consider using a dehumidifier.
2. Wipe Down Surfaces Regularly
After you use the shower or bath, make it a habit to wipe the silicone sealant and nearby surfaces with a dry cloth. This will help prevent excess moisture that can lead to mould growth.
3. Use Mould-Resistant Sealant
When applying new silicone sealant, look for mould-resistant products. These sealants contain special chemicals that help prevent mould from taking hold in the future.
How to Spot Black Mould Early?
Catching mould early makes it much easier to clean. Here’s what to watch out for:
1. Green or Black Spots

Check for small specks or patches on the silicone sealant around your bath, shower, sink, and windows. If ignored, these spots can grow into larger, more stubborn stains.
2. Musty Smell
If you notice a damp or musty smell in the bathroom, it could be a sign that mould is lurking even if you can’t see it yet.
3. Damage to Surrounding Areas
Mould can spread from the sealant to nearby surfaces. Keep an eye out for:
- Cracked or peeling paint
- Lifting or bubbling wallpaper
- Warped or bulging walls, which may indicate hidden leaks or dampness.
How to Keep Regular Maintenance to Keep Mould Away?
To keep mould from coming back, make sure to:
- Regularly check the sealant for cracks or damage.
- Wipe down surfaces after showers or baths to remove excess moisture.
- Ensure good ventilation by using extractor fans or opening windows.
- Damaged or lifting sealant lets moisture sneak behind it, creating the perfect breeding ground for mould to return.
When to Call in the Professionals?
While DIY methods work for small areas, there are times when it’s best to call in the experts.
Here’s when to consider professional help:
1. Extensive Mould Growth
If mould is widespread, or has spread behind walls and under floors, professionals can safely remove it.
2. Health Concerns
If you or your family members suffer from asthma, allergies, or other breathing issues, and mould seems to be making things worse, it’s time to call in a professional.
3. Recurring Mould Problems
If mould keeps coming back despite your best efforts, there might be underlying issues, like poor ventilation or leaks, that need to be addressed by experts.
Conclusion
Learning how to remove black mould from silicone sealant is key to keeping your home safe and healthy. Whether you choose natural solutions or chemical treatments, the right steps can help remove mould and prevent it from coming back. Regular cleaning, good ventilation, and using mould-resistant sealants are essential for long-term prevention.
Now the question is, are you ready to make your place mould-free?
If so, Vent Solve is here for you. Our team specialises in safely removing black mould and providing effective ventilation solutions to keep your home mould-free.
Contact us today and let us help you breathe easier in a healthier home.
Frequently Asked Questions
1. How can I tell if the black mould is on my silicone sealant?
Black mould on silicone sealant typically appears as small green or black patches. You may also notice a musty smell in your bathroom or kitchen, and in some cases, the surrounding areas may show signs of damage, such as peeling paint or warped walls.
2. What is the best way to remove black mould from silicone sealant?
There are a few effective methods to remove black mould from silicone sealant. You can use natural remedies like white vinegar spray or a bicarbonate of soda paste, or opt for chemical solutions like bleach or commercial mould removers. Always ensure you’re wearing protective gear like gloves, goggles, and a mask when handling mould.
3. Can I prevent black mould from growing on silicone sealant?
Yes. To prevent black mould from growing, improve ventilation by opening windows, using extractor fans, or adding a dehumidifier. Regularly wipe down surfaces after showers, and consider using mould-resistant silicone sealant for new installations.
4. How often should I check for black mould on silicone sealant?
It’s a good idea to check your silicone sealant for mould every few months. If you notice any damage, cracks, or signs of mould, address it immediately to prevent further growth.
5. When should I replace the silicone sealant instead of cleaning it?
If the mould has deeply penetrated the silicone sealant and cleaning doesn’t seem effective, it’s time to replace it. This is especially true if the sealant is cracked, peeling, or damaged, allowing moisture to get behind it.
6. Should I call a professional to remove black mould from silicone sealant?
If the mould covers a large area, spreads behind walls, or keeps returning despite your efforts, it may be time to call in the professionals. Mould removal experts can safely handle extensive growth and address underlying issues like leaks or poor ventilation.

